
I am proud to present you what is the biggest tutorial I made so far.
I sprayed, painted, sponged and painted again, took tons of photos, edited them and wrote through the nights. And for the first time (because there were many who wished I would do that...) the tutorial will be bilingual! This tutorial is available in English and German language.
To find the German version just click here: German Version
And now lets begin!
They are the centerpieces of many armies, their weapons are the most deadly around, their speed is the base of many tactics and they tower over every infantry model...TANKS!
Nearly every tabletop general comes to a point, when he wants to own one or more tanks and crush his enemies with them.
But painting such a monster can be a very intimidating task, painting lots of them even more.
Besides showcase painting, I still love to play from time to time and my well known love for vehicles forces me to include them into my armies every time :)
I made a lot experiences during my years of showcase painting and last time I decided to paint a new army, I tried to use them, of cause in a way simpler variant. So I tried around, painted some vehicles with the goal to be as fast as lightning without them looking loveless made. You can find some of my test objects here:
Ork Burna Bommer , chimera transport tank
Of cause not many people have the time and motivation to put 20 hours into a vehicle, that might explode in the first round, but who doesn't love playing with awesome looking models?
So I want to show you how you can paint exactly that awesome models with tolerable time effort.
Every article will show you an aspect of my working process, explaining everything with pictures and explanations, showing the world of "vehicle speed-painting".
Of cause this is just one of countless ways to do the job, maybe it is one you like :)
3 Leman Russ Battle Tanks will be painted for this article.

After this series is finished, they will be available at ebay, so if you fall in love with one or all of them and want to own them, you'll have a chance ;)
Part 1 - The assembly
There are a few essential keys to safe time and be effective while working.
First of all: Know what you do, know the model and how it works.
I studied the instructions of the tank kits (a thing I never do when having time and painting for showcase, because I feel somehow limited then), and thought which parts should be painted separate. I also decided which parts I would clean of mold lines together.

The second key is assembly line work.
This concept dates back till the 15th century and works very well.
We know we want to build 3 tanks, and we know there are steps we have to do 3 times. Cleaning, gluing, priming, spraying our first colour, our second...you know what I mean.
So I cut the same piece from every sprue, clean it, take the next and so on. While doing so, you fall into a mindless mode of repeating steps, but you get faster and faster. My first tracks took minutes to be cleaned, after the 10th it was faster and the last tracks were done in no time.
You just know how to handle every part of your kit, a thing that doesn't happen when you build a full tank and then the next.
Be sure to have some music or a friend to talk with while doing this, because it can get really boring.
However, the saved time is worth it.

Three sprues, ready to work with. Be sure there are just the sprues you work with currently, to avoid a mess and chaos.
I'll show you the tools I used, and what I did with them:

1: A triangle, if you not want to add some scratch-built details, like new lines of rivets and such, you won't need it. I used it to measure, and a steel variant to cut and draw the rivet lines.
2: A brush to clean away the dust and little plastic parts, that always appear while cleaning mold lines and drilling plastic.
3: A few clamps to hold fresh glued parts in space.
4: Just a different sort of clamps, to hold plasticard sheets in place while cutting them (really helpful for small plates)
5: The good old wire cutter, to get the bits out of there sprue.
6: A Drill for weapon muzzles and wholes.
7: A scalpel to clean the mold lines. Be sure you use a new one, for a sharp one will safe time and energy!
8: Rubber bands to hold big things in place when glued.
9: Multitool for drilling, sanding and grinding.
Some tools are not necessary, but nice to have.
A few impressions of my personal assembly line work:

All sides of our tanks are ready before anything is glued.

They all want to be cleaned...
...and when you did that and have everything in order it feels damn good.
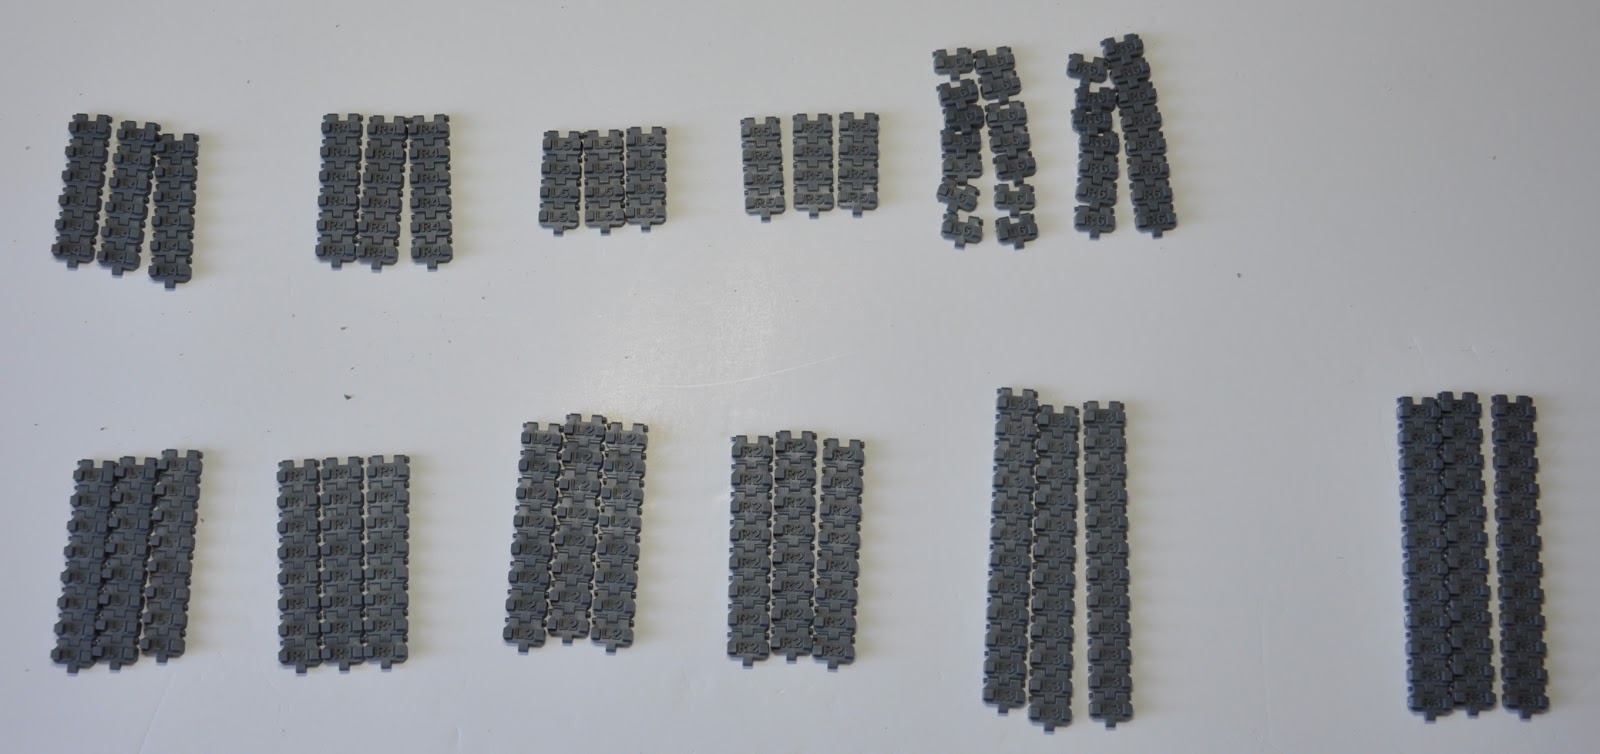
Of cause assembly line work doesn't mean we take every track part from every sprue, than the next...no, we know that all track parts are basically the same thing and we'll have to do the same to them. So we take them all out and clean them. They are numbered in this kit, so organizing them was no problem. Thats the concept, choosing groups of bits that will require the same handling and saving time with them.

I also glue same parts together at the same time.
I don't think it is necessary to show more of the building process, for everyone of us did this with a miniature.
Converting your tanks is the best way to double the time you need, a thing many gamers can't effort (either for time it needs or materials used) but we don't have to abandon it!
Squadrons often have a leading vehicle (if not in rules, for sure in their background) and investing a little time in making this one special is an easy way to have something personal in the end.
I decided to add some battle damage and a new plate with self made rivets, a banner (yes, cool tanks have cool banners...at least I think they should ;) ) and a vox unit from GW's command vehicle sprue.
The battle damage:
Be very careful where you put your damage, they look silly, if too much or in the wrong places. Also later paintwork is effected by their position!

I always sketch out my damage, all of it before doing something, so I can check the look of it.
I sanded the plastic down to a very thin level, using my multitool. Always think of your safety while using such a thing, it is possible that something shoots through your room with enough speed to hurt you.


Never forget your safety, without your eyes, painting can be very hard so you should protect them ;)
To check if your plastic is thin enough, hold it against a lamp. If you see the light shining through, it is just right.


Be sure you prime the inside of your tank side before gluing. You will see the inside through our new made hole and spray primer won't reach it afterwards!
Adding new armour parts:
I used a rivet maker by the company Trumpeter and a thin brass sheet. Using the tool is simple, it presses into the material with its teeth, you just press it against the sheet and draw a line where the rivets shall be.


You can also use thin plasticard instead of brass. When you like the look of your plate, just glue it in place.
This is an experiment, as I just got my hands onto this awesome tool. We'll see, how much the rivets will stand out in the end. If they are not strong enough, we at least added a new layer to the back of our hull.

That were todays thoughts about the assembly, nothing new to the world, but things one should have in mind when the goal is time effective working.
Tomorrow the color will come in, I'll show how I painted the basic color of the tank and how I achieved the worn and weathered look with simple and fast techniques.
This tutorials take a lot of time, time I gladly put into this blog, but nevertheless it is much of it. I would appreciate you leaving a comment and subscribe to my blog, if you like what I am doing.
Don't miss this week full of hobby madness :)
Stay tuned and see you tomorrow!
Your Tutorial is very in-depth and detailed! I am sure it will be very useful for Beginners, that are about to glue their first big Plastic Kit together, since you can really make things more difficult as they need to be...:)...
AntwortenLöschenMany thanks for your Efford...:)... Curious about the Continuation...^-^...
Thanks for your comment :)
AntwortenLöschenThe effort doesn't seem to be that great, when I think what other people gave to me during my years in the hobby.
I am just glad I can give something back now.
And I would have loved todays possibilities of research and tutorials back in my starting time :)